Whether you’re a hobbyist, crafter, or DIY enthusiast, Nichrome wire opens up a world of possibilities for precision cutting and welding projects. This versatile resistance wire has become the go-to choice for foam cutting and plastic welding applications, offering clean cuts and reliable performance when used correctly.
What Makes Nichrome Wire Perfect for Heat Applications?
Nichrome wire is an alloy composed primarily of nickel and chromium, typically in an 80/20 ratio. This composition gives it exceptional properties that make it ideal for heating applications. When electrical current passes through nichrome wire, its high electrical resistance causes it to heat up quickly and maintain consistent temperatures. Unlike regular wire, nichrome resists oxidation at high temperatures and doesn’t become brittle or break down easily, making it perfect for repeated use in foam cutting and plastic welding projects.
Essential Materials and Tools You’ll Need
Before diving into your project, gather these essential components. For foam cutting or plastic welding, you’ll need nichrome wire in the appropriate gauge, a suitable power supply, a frame or handle to mount the wire, electrical connectors and terminals, safety equipment including heat-resistant gloves and eye protection, and a heat-resistant work surface.
The gauge of nichrome wire you choose depends on your specific application. For foam cutting, 22- to 26-gauge wire works well for most projects. Thinner wire heats up faster but is more fragile, while thicker wire requires more power but offers greater durability. For plastic welding, 18- to 22-gauge wire typically provides the right balance of heat and control.
Building a DIY Foam Cutting Tool
Creating your own foam cutter is surprisingly straightforward. Start by constructing a simple frame using wood, PVC pipe, or metal. The frame should hold the nichrome wire taut across a gap where you’ll pass your foam material. Mount the wire between two points on your frame, ensuring it’s stretched tight but not overly stressed.
Connect one end of the nichrome wire to the positive terminal of your power supply and the other end to the negative terminal. A variable power supply provides the best control, enabling you to adjust the temperature according to the desired foam density and cutting speed. Many DIY enthusiasts successfully utilize old computer power supplies, battery packs, or dedicated DC power supplies in the 12- to 24-volt range.
When you apply power, the wire should glow a dull red or orange color. If it glows bright red or white, reduce the voltage immediately to prevent the wire from burning out. The ideal temperature for foam cutting is just hot enough to melt through the material cleanly without excessive smoke or charring.
Techniques for Clean, Precise Foam Cuts
Achieving professional-looking cuts requires practice and patience. Always let the hot wire do the work rather than forcing the foam through quickly. Move the foam steadily and smoothly across the wire, maintaining a consistent speed for even cuts. Fast movements create rough edges, while too-slow movements can cause excessive melting and wider cuts than intended.
For straight cuts, use a straightedge or guide to keep your foam aligned. For curved cuts, rotate the foam gradually as you feed it through, keeping your movements fluid. Practice on scrap foam first to get a feel for the right temperature and speed combination for your specific setup.
Different foam types require different approaches. Expanded polystyrene foam cuts beautifully with nichrome wire, producing smooth edges with minimal waste. Extruded polystyrene is denser and requires slightly higher temperatures to process. Polyurethane foam can be cut, but may produce more fumes, so ensure excellent ventilation.
Plastic Welding with Nichrome Wire
Nichrome wire also excels at plastic welding when joining two pieces of similar thermoplastic materials. This technique works particularly well with materials such as polyethylene, polypropylene, and certain types of acrylics.
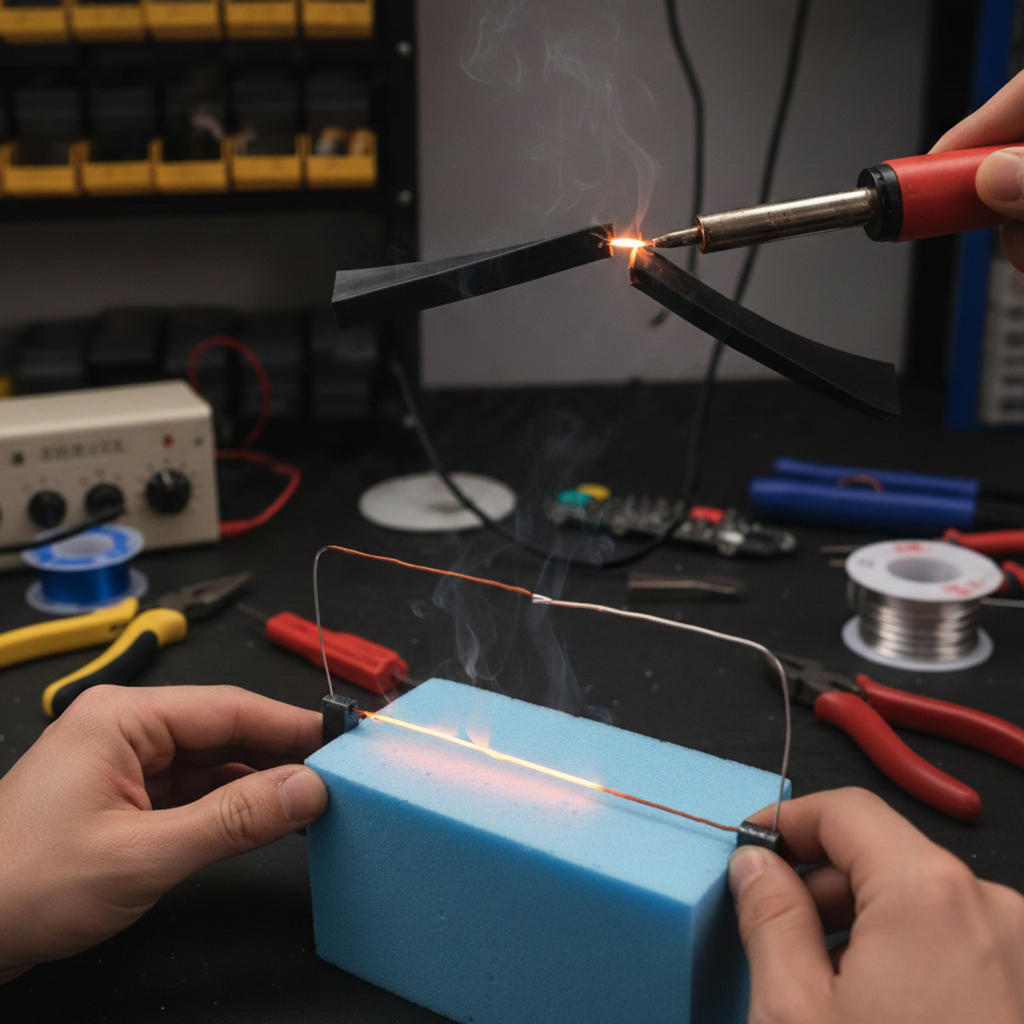
For plastic welding, you’ll typically use a slightly different setup than foam cutting. The wire should be heated to the point where it can soften the plastic without causing it to burn or produce excessive fumes. Position the wire close to the joint where two pieces meet, allowing the heat to soften both surfaces. When the plastic becomes pliable, press the pieces together and hold them steady as they cool and fuse.
Some plastic welders create a handheld tool with a small loop of nichrome wire at the tip, similar to a soldering iron. This design offers excellent control for detailed work and small repairs. The key is maintaining the right distance between the hot wire and the plastic surface to achieve proper melting without degradation.
Critical Safety Considerations
Working with hot nichrome wire demands respect and attention to safety. Always work in a well-ventilated area, as cutting foam and welding plastic can release fumes. Some materials produce toxic gases when heated, so research your specific materials beforehand and use appropriate respiratory protection when necessary.
Never touch the nichrome wire when it’s powered on or immediately after disconnecting power, as it retains heat for several minutes. Keep flammable materials away from your work area, and have a fire extinguisher nearby. Wear safety glasses to protect your eyes from hot particles or accidental wire breakage.
Ensure all electrical connections are secure and properly insulated. Loose connections can create dangerous hot spots or sparks. Use properly rated wire for your electrical connections, and never exceed the recommended voltage for your nichrome wire gauge.
Maintenance and Troubleshooting
With proper care, Nichrome wire can last through hundreds of projects. After each use, allow the wire to cool completely before storing your tool. Check regularly for signs of thinning, especially at connection points where the wire experiences the most stress. Replace the wire if you notice any weak spots or breaks developing.
If your wire isn’t heating properly, check all connections first. Oxidation at connection points is a common issue that increases resistance in undesirable locations. Clean connection points with sandpaper and ensure tight, secure connections. If the wire heats unevenly, you may need to adjust the tension or replace the wire entirely.
Getting Started with Confidence
At Pelican Wire, we understand that successful DIY projects start with quality materials. Whether you’re building your first foam cutter or upgrading an existing tool, choosing the right nichrome wire makes all the difference. Begin with simple projects to develop your skills, prioritize safety, and don’t hesitate to experiment with various wire gauges and power settings to determine what works best for your specific applications.
With practice and the right approach, nichrome wire will become an invaluable tool in your workshop, enabling you to tackle projects that would be difficult or impossible with traditional cutting methods.xx